
oi there! ~ I decided to make this step por step artigo on how I make an ícone just because I felt bad because I couldn't include some people's entries in the pesquisas of the animê ícone Contest because they don't follow the rules given. I'm not really sure where to put this, but since the animê ícone Contest is here, I decided to post it in this spot.
Making ícones are really easy. In fact, you don't really need a fancy software to make one. You could just always crop a picture and re-size it on your computer. If you want to add some fancy effects, you could always use a fotografia editing software or a site. I'll list the ones I use later.
But let's start from the basics.
The site I'll be using for this tutorial is link It's a really easy site to use, and it's what I normally use to editar my icons.
Step 1:Upload your image
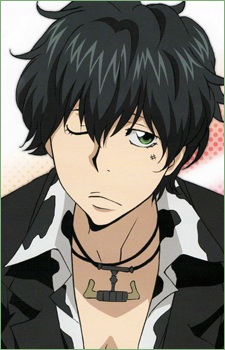
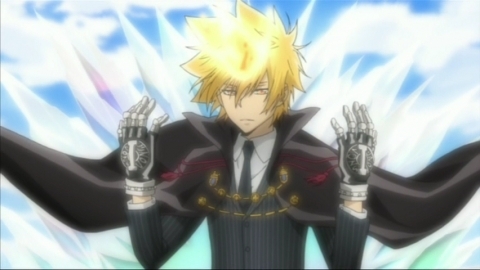
Of course, before you editar anything, you need to choose an image that you're going to make into an icon. For this example, I will be using a screencap of Giotto from Katekyo Hitman Reborn!
Once you have chosen your image, click the Edit a photo button in the upper left part of the page.

Choose your fotografia and click okay.
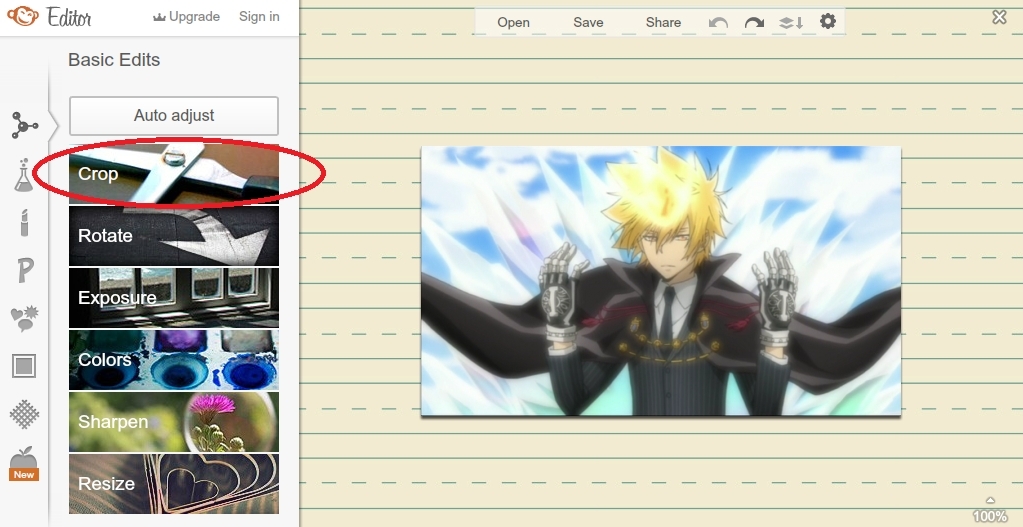
Step 2: Crop your photo
Once you're image is fully uploaded, click the crop button on the toolbar.

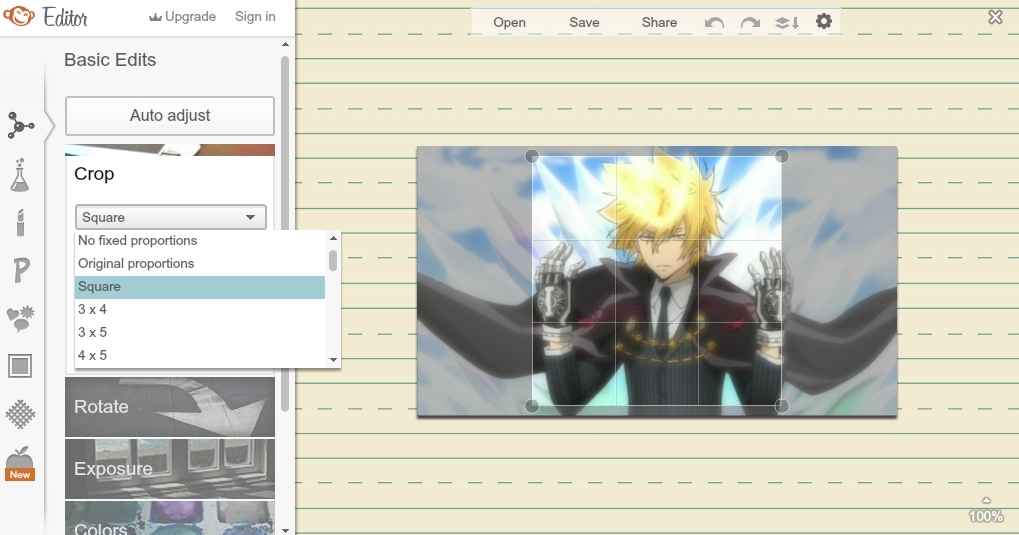
Pick square from the drop down menu.
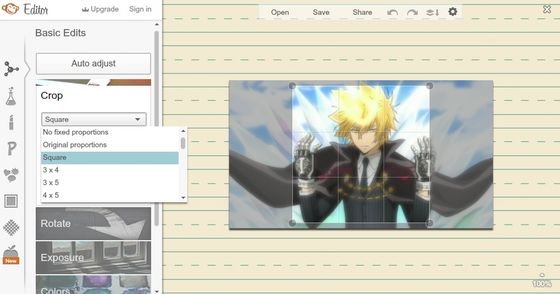
The grid indicates the area of the picture that will be cropped.

When done deciding what are will be cropped, click Apply.
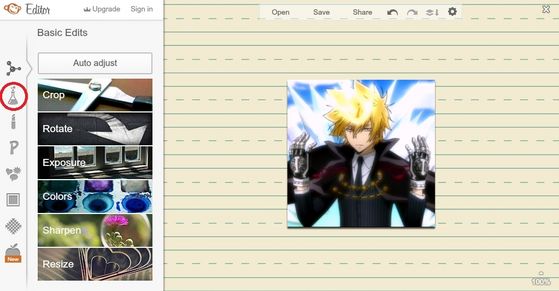
Step 3: Adding effects
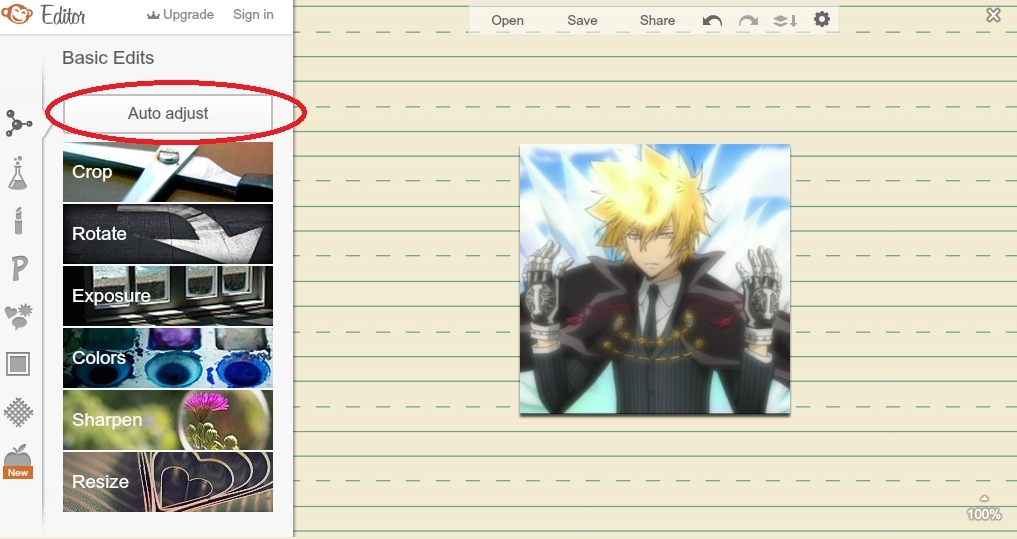
If you want, you could click the Auto Adjust button on the toolbar for it to automatically adjust some problems of the image.

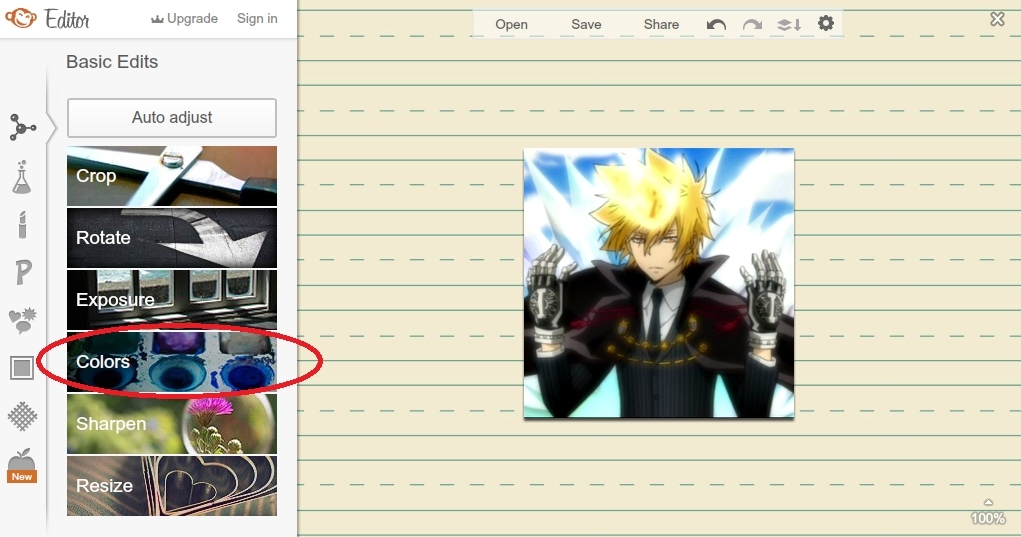
I also sometimes adjust the Colors on mine.

I normally try to find the right balance, but when I'm lazy I just click on the Auto Adjust button as well.

When you're done with the basic adjustments press Apply and mover on.
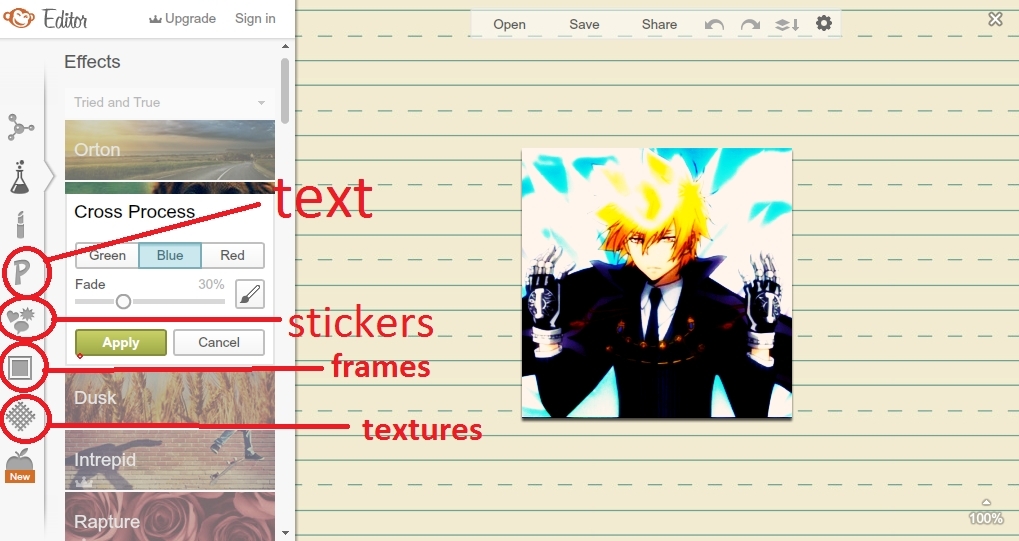
After that, you could try the various effects. This site has a number of effects to experiment on. To see all the effects available, click on the ícone shaped like a bubbling potion bottle on the left side.
Here comes the fun part.

You could use all the effects in the right side, but make sure not to use the ones with a little crown on them, because you need to pay for some of the effects. (Just make do with the free ones, they're better in my opinion!) If you like a certain effect, click on it and adjust the settings.
If you're happy with the visualização just simply click the Apply button.

You could also add text, stickers, frames and textures! Just click on the buttons in the same line as the effects to explore more.

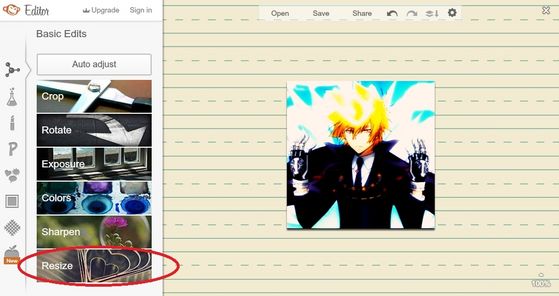
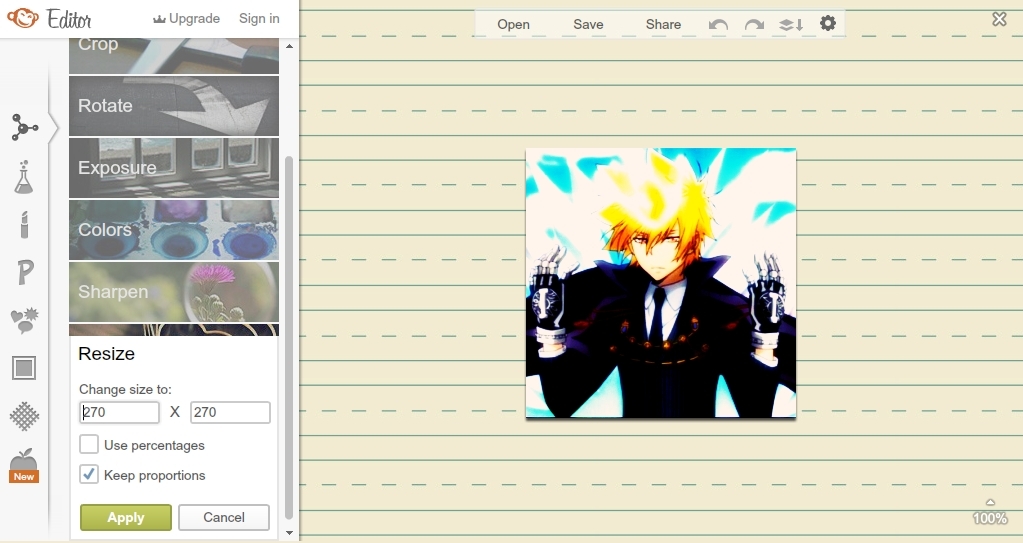
Step 4: Resizing an icon
When you're done with adding the effects, go back to the first page you've been to.

Click on the Resize button on the bottom part of the page.
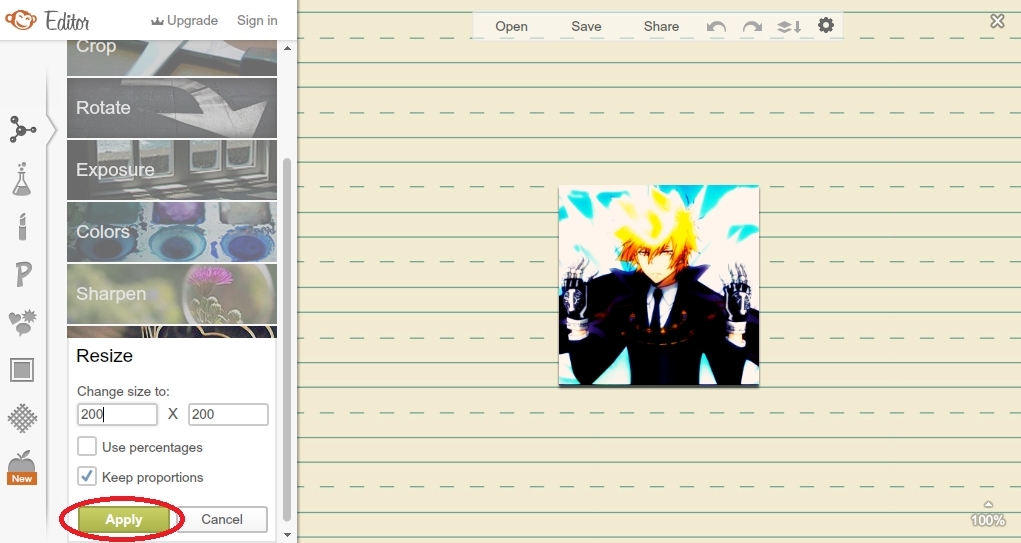
Make sure that the size you input is between 100x100 and 200x200. I normally use 200x200.
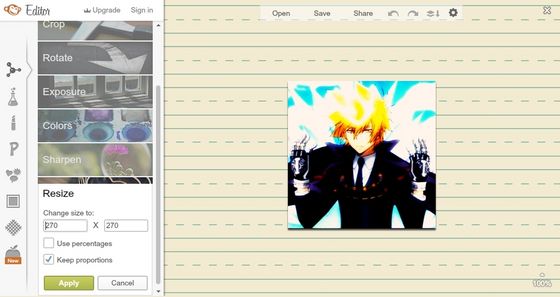
When done, click Apply.

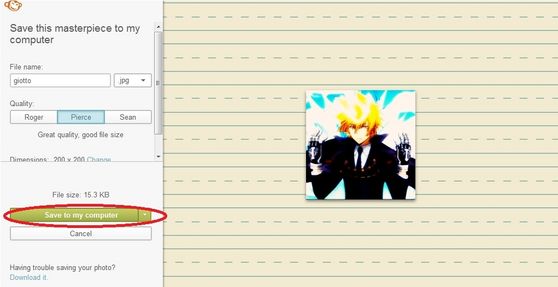
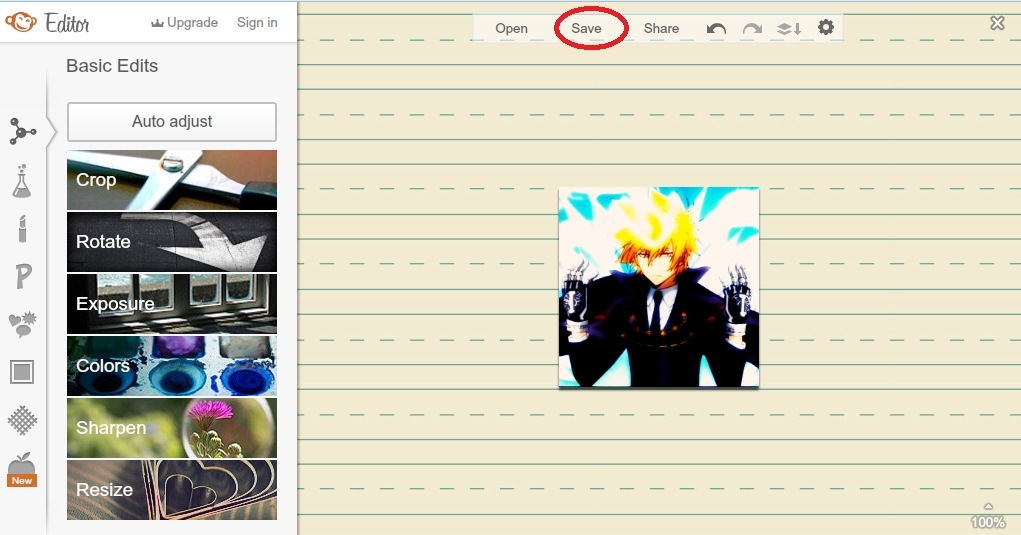
Step 5: Saving
Once you're done resizing, click on the Save on the upper portion of the screen.

Click Save to my Computer to save it.
And that's the last step. =) I hope this helped. There are other good editing sites out there, but I got used to this one when I was just starting. ~ So don't yourself to just one site.
If you're done making icons, why not enter the ícone contest? ~ Haha advertising much. :P But if you want to join, here's the link
Making ícones are really easy. In fact, you don't really need a fancy software to make one. You could just always crop a picture and re-size it on your computer. If you want to add some fancy effects, you could always use a fotografia editing software or a site. I'll list the ones I use later.
But let's start from the basics.
The site I'll be using for this tutorial is link It's a really easy site to use, and it's what I normally use to editar my icons.
Step 1:Upload your image
Of course, before you editar anything, you need to choose an image that you're going to make into an icon. For this example, I will be using a screencap of Giotto from Katekyo Hitman Reborn!

Once you have chosen your image, click the Edit a photo button in the upper left part of the page.

Choose your fotografia and click okay.
Step 2: Crop your photo
Once you're image is fully uploaded, click the crop button on the toolbar.
Pick square from the drop down menu.
The grid indicates the area of the picture that will be cropped.
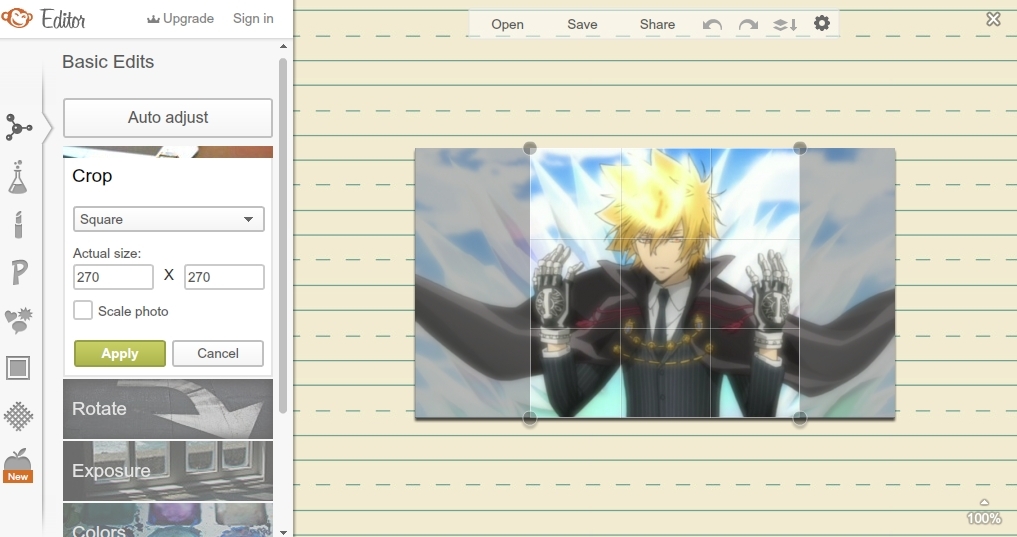
When done deciding what are will be cropped, click Apply.
Step 3: Adding effects
If you want, you could click the Auto Adjust button on the toolbar for it to automatically adjust some problems of the image.
I also sometimes adjust the Colors on mine.
I normally try to find the right balance, but when I'm lazy I just click on the Auto Adjust button as well.
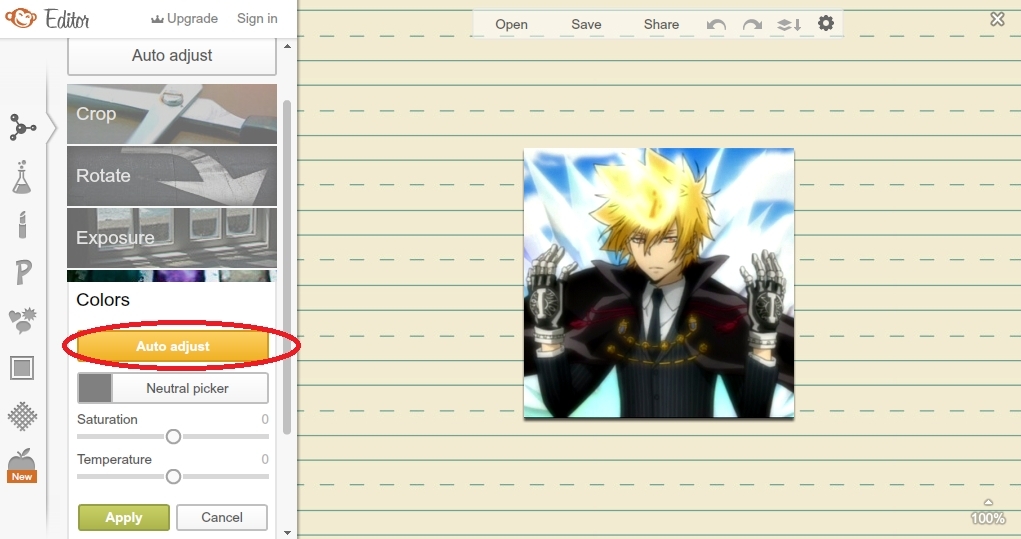
When you're done with the basic adjustments press Apply and mover on.
After that, you could try the various effects. This site has a number of effects to experiment on. To see all the effects available, click on the ícone shaped like a bubbling potion bottle on the left side.

Here comes the fun part.
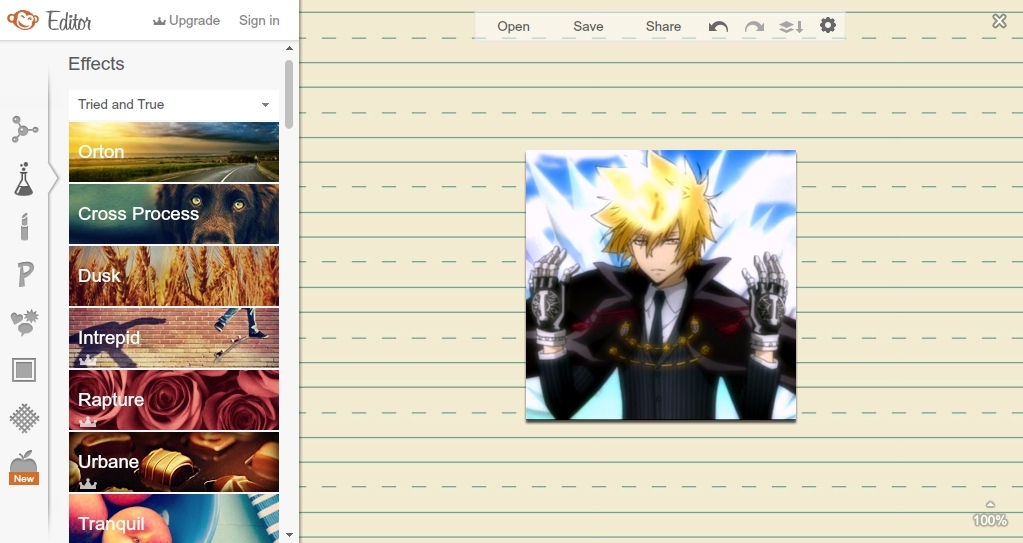
You could use all the effects in the right side, but make sure not to use the ones with a little crown on them, because you need to pay for some of the effects. (Just make do with the free ones, they're better in my opinion!) If you like a certain effect, click on it and adjust the settings.
If you're happy with the visualização just simply click the Apply button.

You could also add text, stickers, frames and textures! Just click on the buttons in the same line as the effects to explore more.
Step 4: Resizing an icon
When you're done with adding the effects, go back to the first page you've been to.

Click on the Resize button on the bottom part of the page.

Make sure that the size you input is between 100x100 and 200x200. I normally use 200x200.
When done, click Apply.
Step 5: Saving
Once you're done resizing, click on the Save on the upper portion of the screen.
Click Save to my Computer to save it.

And that's the last step. =) I hope this helped. There are other good editing sites out there, but I got used to this one when I was just starting. ~ So don't yourself to just one site.
If you're done making icons, why not enter the ícone contest? ~ Haha advertising much. :P But if you want to join, here's the link